
 |
| Our completed snowmen :) |
Materials & Tutorial

Shopping List:
- 1 KraftyBlok-Original Size ($11.99 @ Michaels)
- 1 KraftyBlok-Mini Size ($9.99 @ Michaels)
- Acrylic Paint (Black, Orange and White)
- Small circle "sponge dobber" paint brush to make the buttons, eyes and mouth
- Large circle "sponge dobber" paint brush to paint on the white
- Regular Paint brush to paint on nose
- 1 string of 100 ct. Christmas lights (Buy them on clearance after Christmas! Always good to have these around)
- 1/3 Yard of Flannel fabric
- Glue Gun
Tutorial:
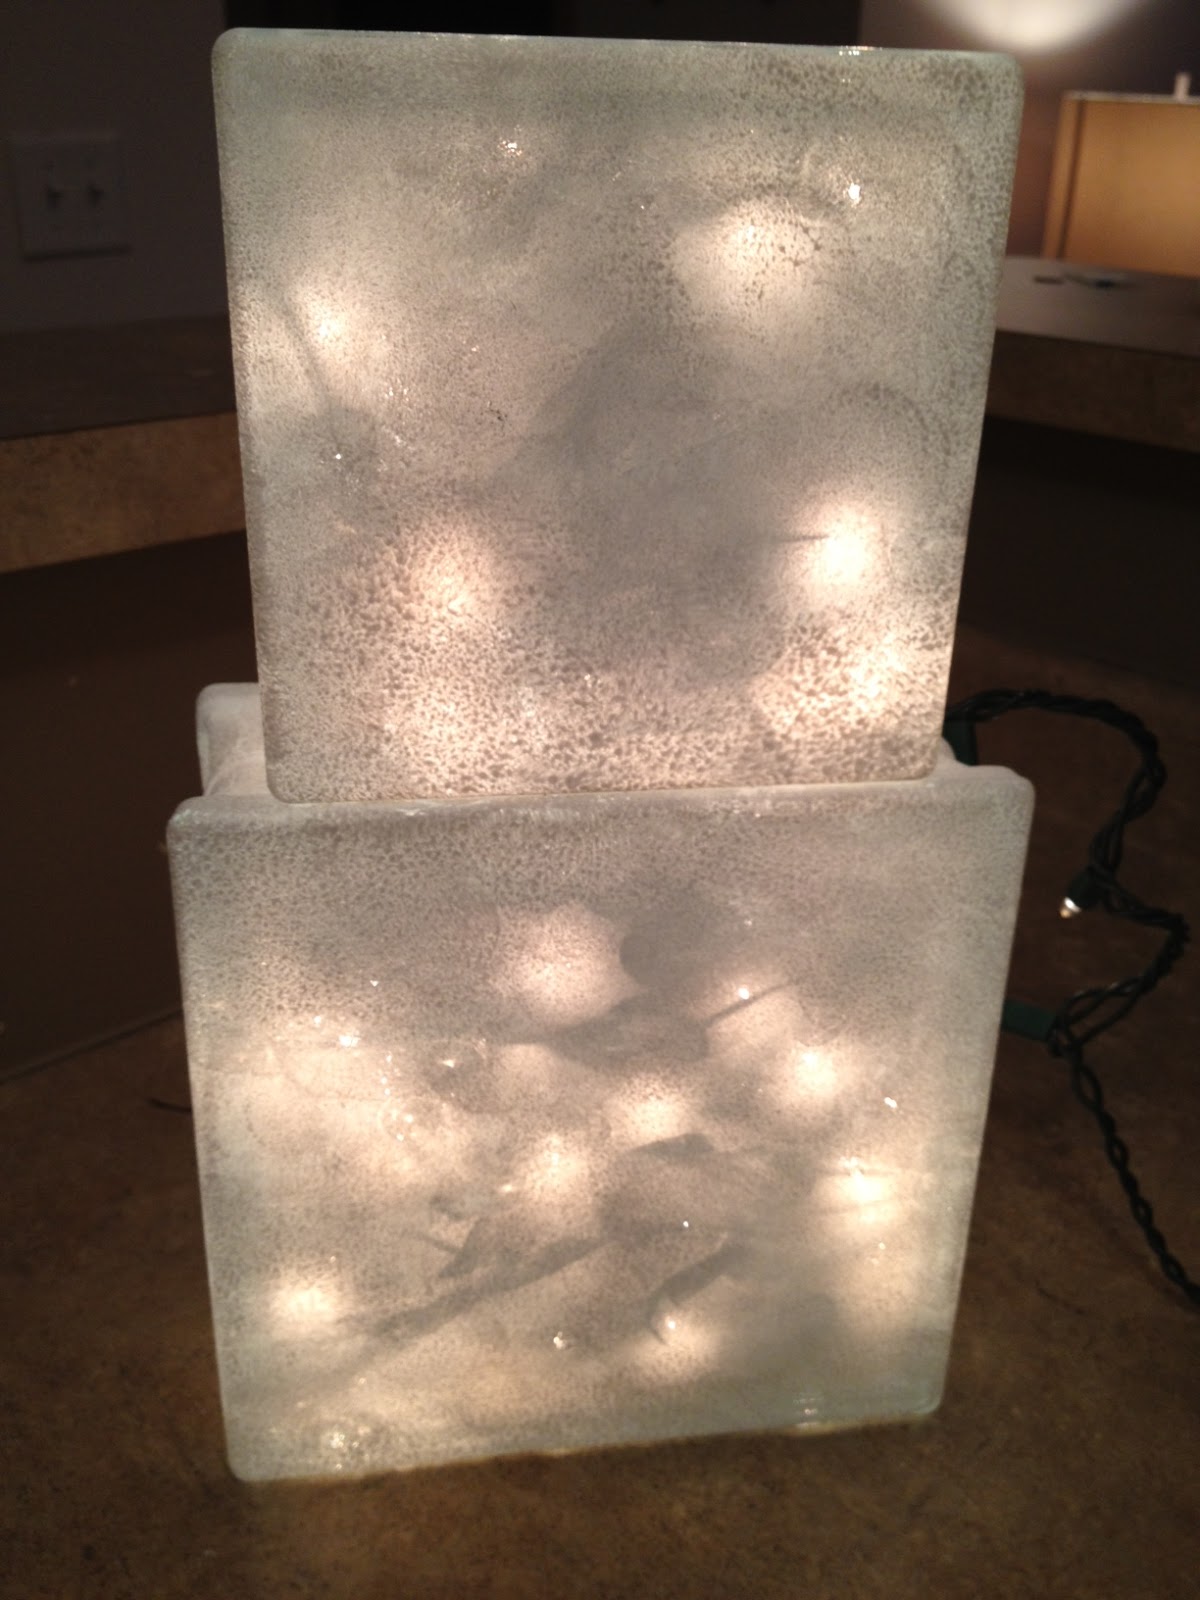
1. Put 3/4 of your string of lights in the larger block and about 1/4 of the string in the smaller block. Don't forget to leave enough of the string outside of the block so that you will be able to plug it in. We plugged ours in and made sure the squares were evenly lit.
 | ||||
| Blocks with Xmas lights |
 | |||||
| Painted blocks with lights |
4. Use the smaller sponge paint brush to paint on the eyes, mouth and buttons and use a regular paint brush to paint the nose. Get creative and do this however you'd like!
 | |||||||
| Frosty's face and buttons completed |
5. Sew a small hat for the snowman. There is really no right or wrong way to do this! We used this pattern and made it snowman sized and cut fringes on the top.
 | |||
| Ta-da! Completed product |
We hope you like this idea and you'll make one of your own! We'd love to see your pictures if you do! Email them to us at ThursdayNightThreads@gmail.com
Happy Winter (almost!)

No comments:
Post a Comment